Complete weapon database

Mortal Shell II Weapons

Compare every primary weapon and sidearm in Mortal Shell II. Use the tier lists for a fast recommendation, then check acquisition routes, tradeoffs, and two suggested Tarstones for each entry.

Start here

Quick picks

Why they rank highly

Best weapons explained

S tier · Primary weapon

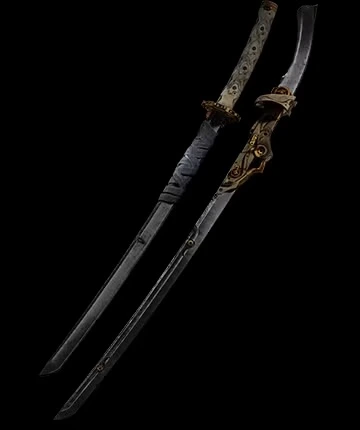
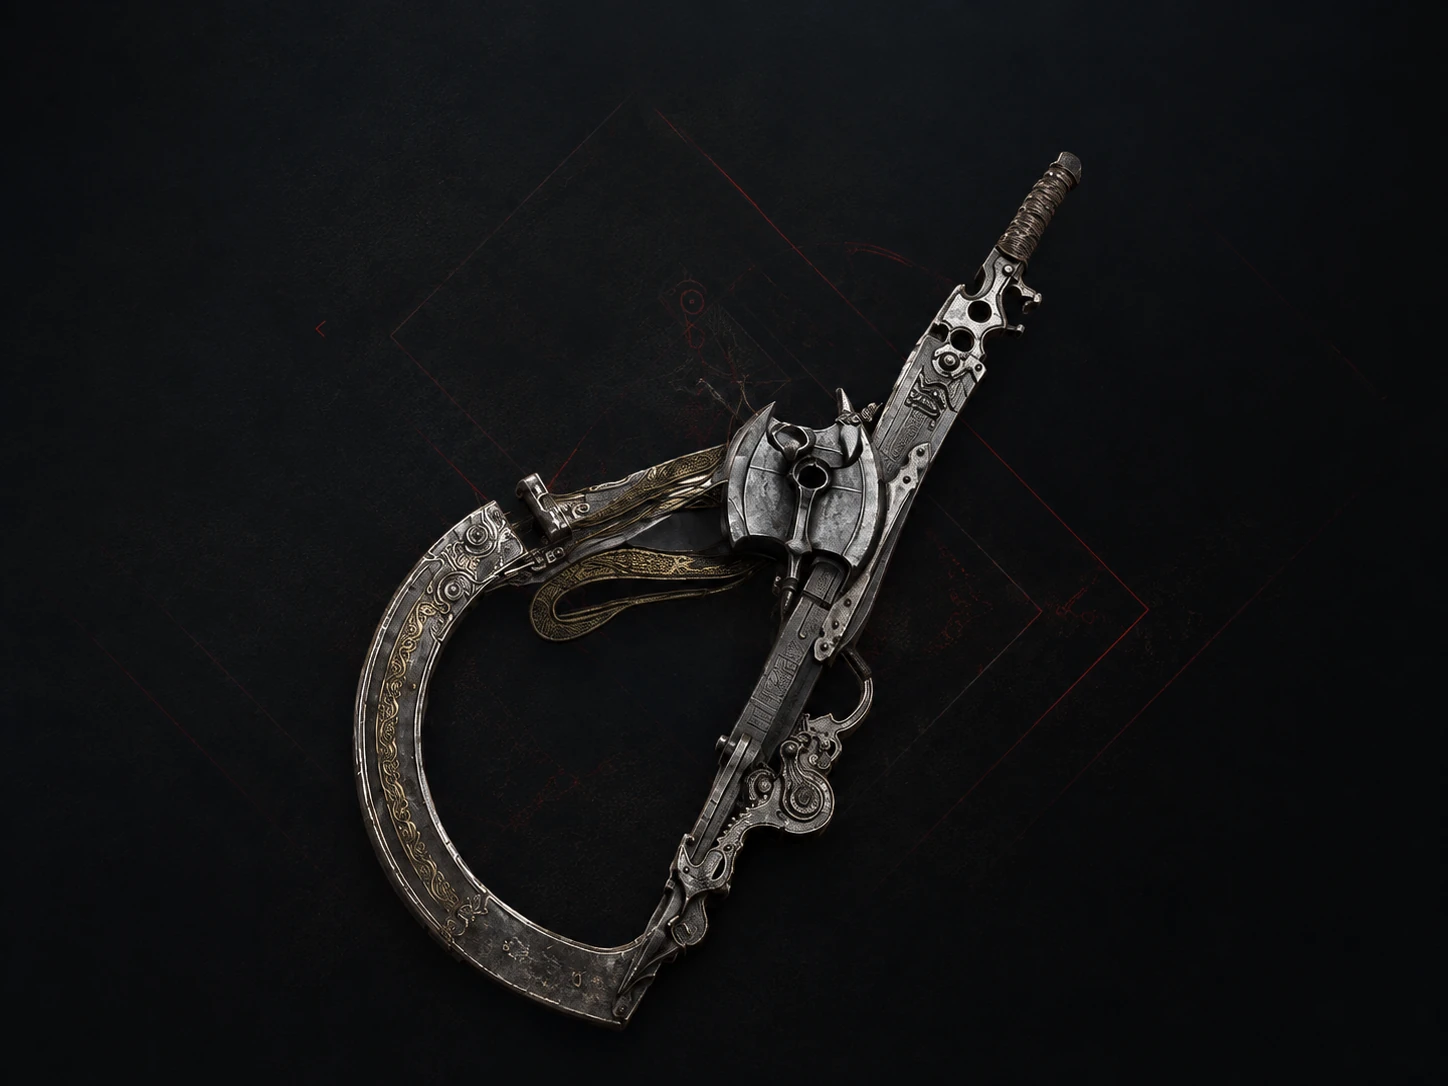
Axatana

Switch forms to match the opening: dual blades for quick chains and the axe for heavier impact, reach, and committed punishment.

Best use: Two complementary movesets in one slot

Tradeoff: Form switching has a readable delay

Tarstones: Duality Stone + Hexapod Core

Found: Mammon — Forgotten Tower / Sester’s Abbey

A tier · Primary weapon

Axe and Dagger

Rapid close-range strings and evasive movement reward players who stay active and punish short openings rather than trading slow blows.

Best use: Fast attacks and strong mobility

Tradeoff: Less flexible than Axatana later in the game

Tarstones: Magdalena’s Memento + Serpent Stone

Found: Fainweald — Shrine of Trials

A tier · Primary weapon

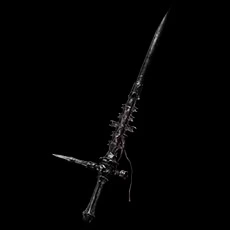
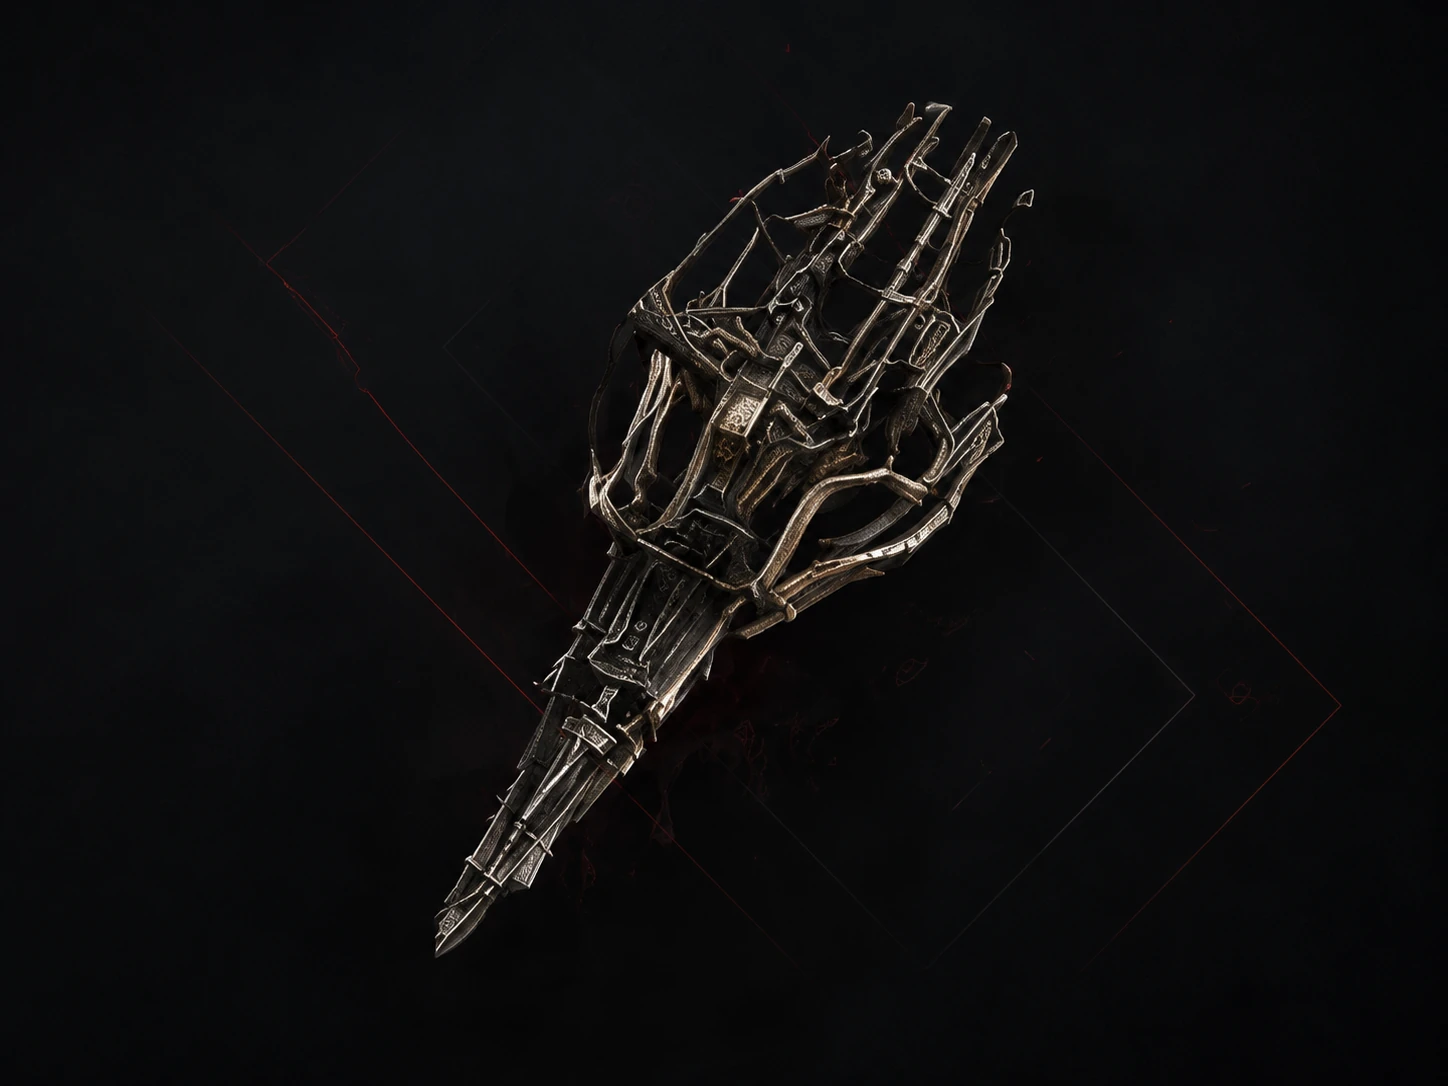
Black Needle

Very fast linear thrusts let the wielder interrupt, reposition, and re-engage without the long recovery of heavier weapons.

Best use: Extremely fast thrusting attacks

Tradeoff: Heavy attacks are slower and less attractive

Tarstones: Nightgrasp Stone + Zealot’s Stone

Found: Mammon — Sester’s Gate

A tier · Primary weapon

Veteran’s Battle Axe

A high-impact melee weapon built around decisive heavy hits, stagger pressure, and short, forceful combinations.

Best use: Exceptional heavy-attack impact

Tradeoff: Light-combo reach can feel short

Tarstones: Inflamed Clawstone + Lost Clotstone

Found: Fainweald — Blackridge Pass / King’s Crypt

S tier · Sidearm

Caged Hystrix

Hold space and sustain a stream of projectiles while the primary weapon handles committed melee openings.

Best use: Rapid sustained fire

Tradeoff: Individual shots favor pressure over burst

Tarstones: Hag Stone + Splitting Stone

Found: Mammon — Chamber of Becoming

S tier · Sidearm

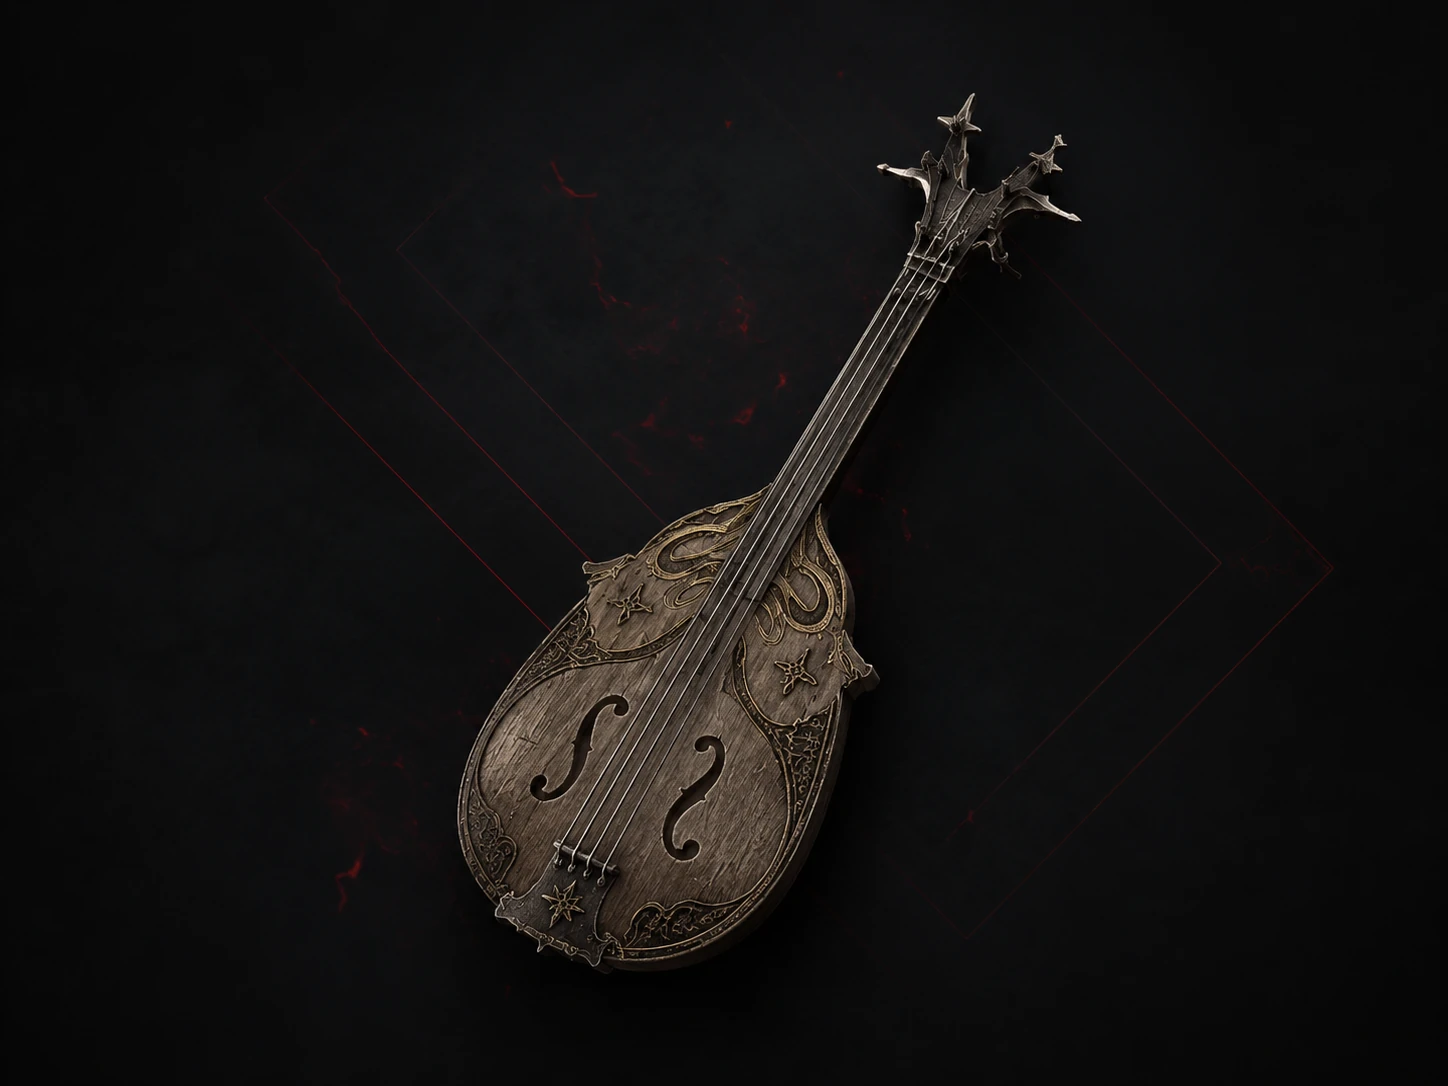
Troubadour’s Lute

Play it as a control tool: disrupt enemies, create a safer opening, then convert that advantage with the equipped primary weapon.

Best use: Excellent Confusion and Break utility

Tradeoff: Limited direct damage

Tarstones: Enfeebling Stone + Hand of Rock

Found: Fainweald — One-Legged Wolf Tavern

A tier · Sidearm

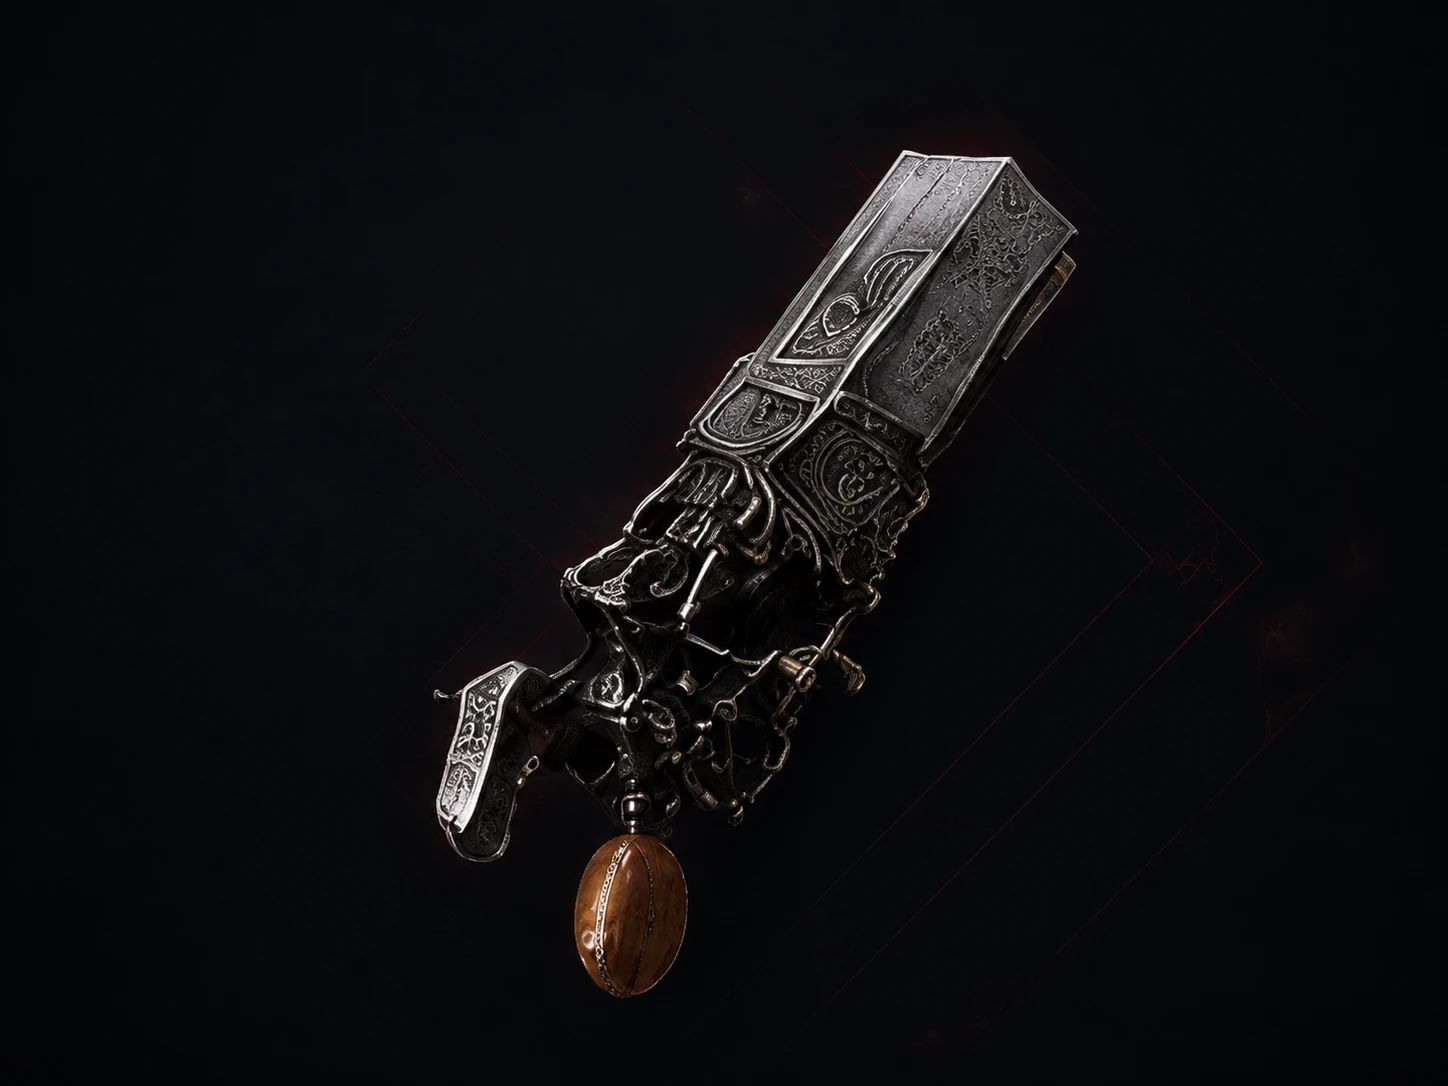
Naylshotte

Keep it ready as a fast point-blank punish between primary-weapon sequences, especially when an enemy overextends.

Best use: Fast close-range burst

Tradeoff: Damage drops with distance

Tarstones: Confessor’s Keepsake + Emberseed Stone

Found: Prologue
Video route

Primary weapon locations

Gamer Guides’ location walkthrough complements the written checklist below. Playback is optional and never starts automatically.

Eight melee choices

All primary weapons

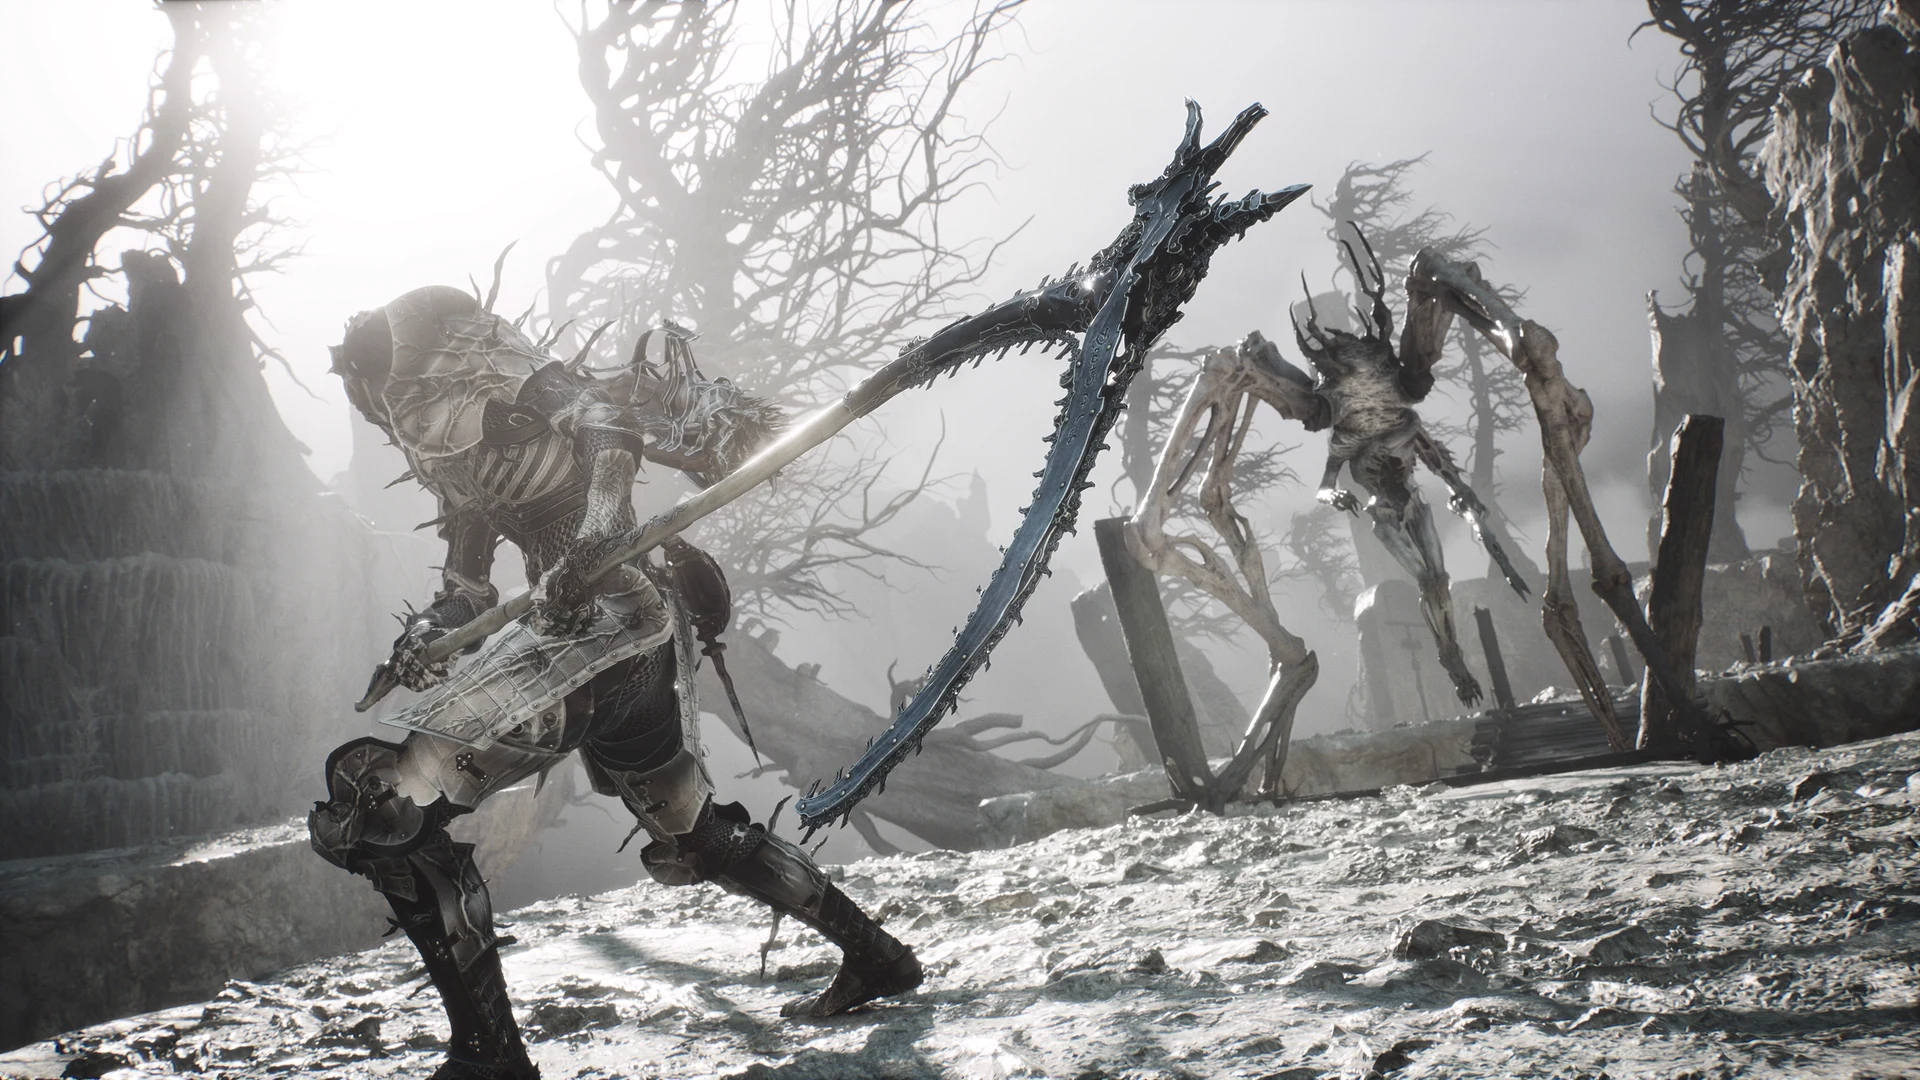
The Iconoclast weapon in Mortal Shell II
Primary weaponB tier

The Iconoclast

The Iconoclast is the dependable starting longsword: balanced, readable, and immediately useful while players learn Mortal Shell II’s unrestricted combat rhythm.

Found
Prologue
Tarstones
Shrike Stone · Parasitic Stone
How to get it
Follow the mandatory Prologue path and interact with the weapon-bearing figure at the end. The Iconoclast is obtained before the world opens up.
Full entry
Axe and Dagger weapon in Mortal Shell II
Primary weaponA tier

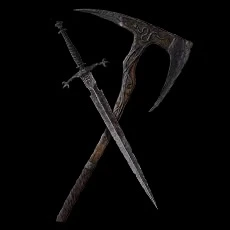
Axe and Dagger

Axe and Dagger is a fast paired weapon that combines aggressive chains with mobility, making it one of the strongest early-game choices in Mortal Shell II.

Found
Fainweald — Shrine of Trials
Tarstones
Magdalena’s Memento · Serpent Stone
How to get it
Reach the Shrine of Trials through the Mushroom Village route, using the Chapel Key where required, and claim Axe and Dagger at the dungeon’s end.
Full entry
Great Martyr's Blade weapon in Mortal Shell II
Primary weaponB tier

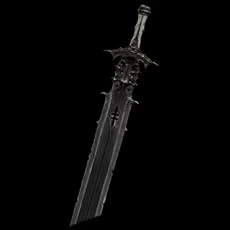
Great Martyr’s Blade

Great Martyr’s Blade uses exceptional reach and heavy damage to control space, but its deliberate regular attacks make poor timing costly.

Found
Fainweald — Citadel of Penance / Martyr’s Prison
Tarstones
Clerik’s Stone · Warden’s Stone
How to get it
Inside Martyr’s Prison, press the button in the cell to open the gate, clear the adjoining room, break the obstructing boxes, and take the blade from the table.
Full entry
Veteran's Battle Axe weapon in Mortal Shell II
Primary weaponA tier

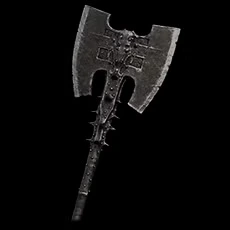
Veteran’s Battle Axe

Veteran’s Battle Axe is the standout heavy option, delivering forceful chains and a punishing jumping heavy attack for players comfortable committing to openings.

Found
Fainweald — Blackridge Pass / King’s Crypt
Tarstones
Inflamed Clawstone · Lost Clotstone
How to get it
Explore King’s Crypt, drop through the hole on the route, and search the body at the back of the room to collect Veteran’s Battle Axe.
Full entry
Clockwork Scythe weapon in Mortal Shell II
Primary weaponB tier

Clockwork Scythe

Clockwork Scythe sweeps across groups with broad arcs and strong crowd control, trading that coverage for slow starts and lengthy attack animations.

Found
Mammon — Silent Steps / Chamber of Becoming
Tarstones
Arbiter’s Prize · Clockwork Shardstone
How to get it
Follow the Silent Steps route into the Chamber of Becoming and defeat Sariel, the Endless. The Clockwork Scythe is awarded with the encounter’s other rewards.
Full entry
Axatana weapon in Mortal Shell II
Primary weaponS tier

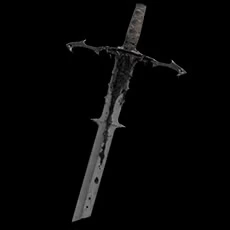
Axatana

Axatana is the best overall primary weapon because it shifts between a heavy axe and rapid dual katanas, covering both burst damage and fast pressure.

Found
Mammon — Forgotten Tower / Sester’s Abbey
Tarstones
Duality Stone · Hexapod Core
How to get it
In the Forgotten Tower near Sester’s Abbey, use the eastern pressure plate to open the gate, defeat the Dagger Sester, and collect Axatana from the nearby cubby.
Full entry
Black Needle weapon in Mortal Shell II
Primary weaponA tier

Black Needle

Black Needle turns speed and safe thrusting reach into relentless single-target pressure, placing it among Mortal Shell II’s strongest primary weapons.

Found
Mammon — Sester’s Gate
Tarstones
Nightgrasp Stone · Zealot’s Stone
How to get it
Progress through Sester’s Gate, defeat the Twin Sesters, then defeat the Stray Sester. Black Needle is obtained after completing that encounter sequence.
Full entry
Obsidian Hammer weapon in Mortal Shell II
Primary weaponC tier

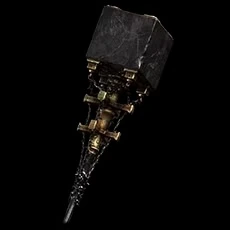
Obsidian Hammer

Obsidian Hammer offers enormous damage and stagger potential, but its extreme speed penalty makes it the most demanding primary weapon to use consistently.

Found
Mammon — Obsidianite Mines
Tarstones
Colossus Stone · Lost Clotstone
How to get it
Reach the Obsidianite Mines and defeat the Prophet of Profane Infinities. Obsidian Hammer is the named weapon reward tied to that encounter.
Full entry

Eight ranged and utility tools

All sidearms

Caged Hystrix sidearm in Mortal Shell II
SidearmS tier

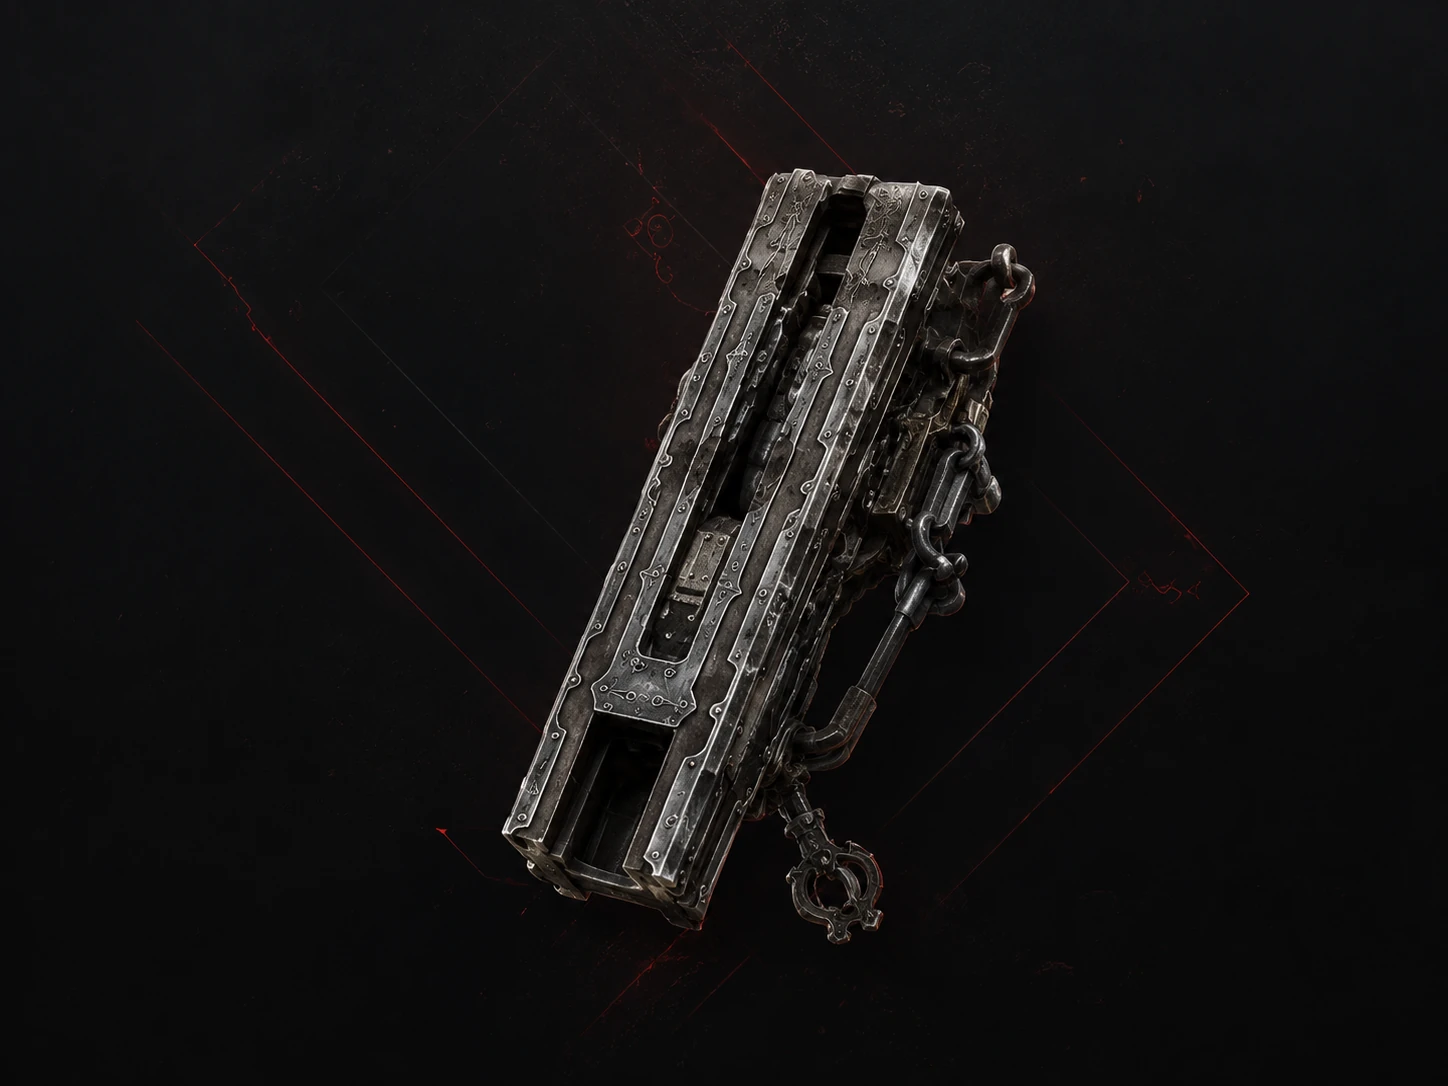
Caged Hystrix

Caged Hystrix is the best all-purpose sidearm, applying rapid ranged pressure that chips enemies, builds stagger, and helps manage groups.

Found
Mammon — Chamber of Becoming
Tarstones
Hag Stone · Splitting Stone
How to get it
In the Chamber of Becoming, destroy the four lightning rods during the Sariel encounter, defeat him, then collect Caged Hystrix near the arena exit.
Full entry
Troubadour's Lute sidearm in Mortal Shell II
SidearmS tier

Troubadour’s Lute

Troubadour’s Lute earns an S tier through control rather than raw damage, using Confusion and Break utility to reshape difficult encounters.

Found
Fainweald — One-Legged Wolf Tavern
Tarstones
Enfeebling Stone · Hand of Rock
How to get it
Travel to the One-Legged Wolf Tavern in eastern Fainweald and inspect the stage. Troubadour’s Lute rests to the left of the performer.
Full entry
Forgotten Crossbow sidearm in Mortal Shell II
SidearmA tier

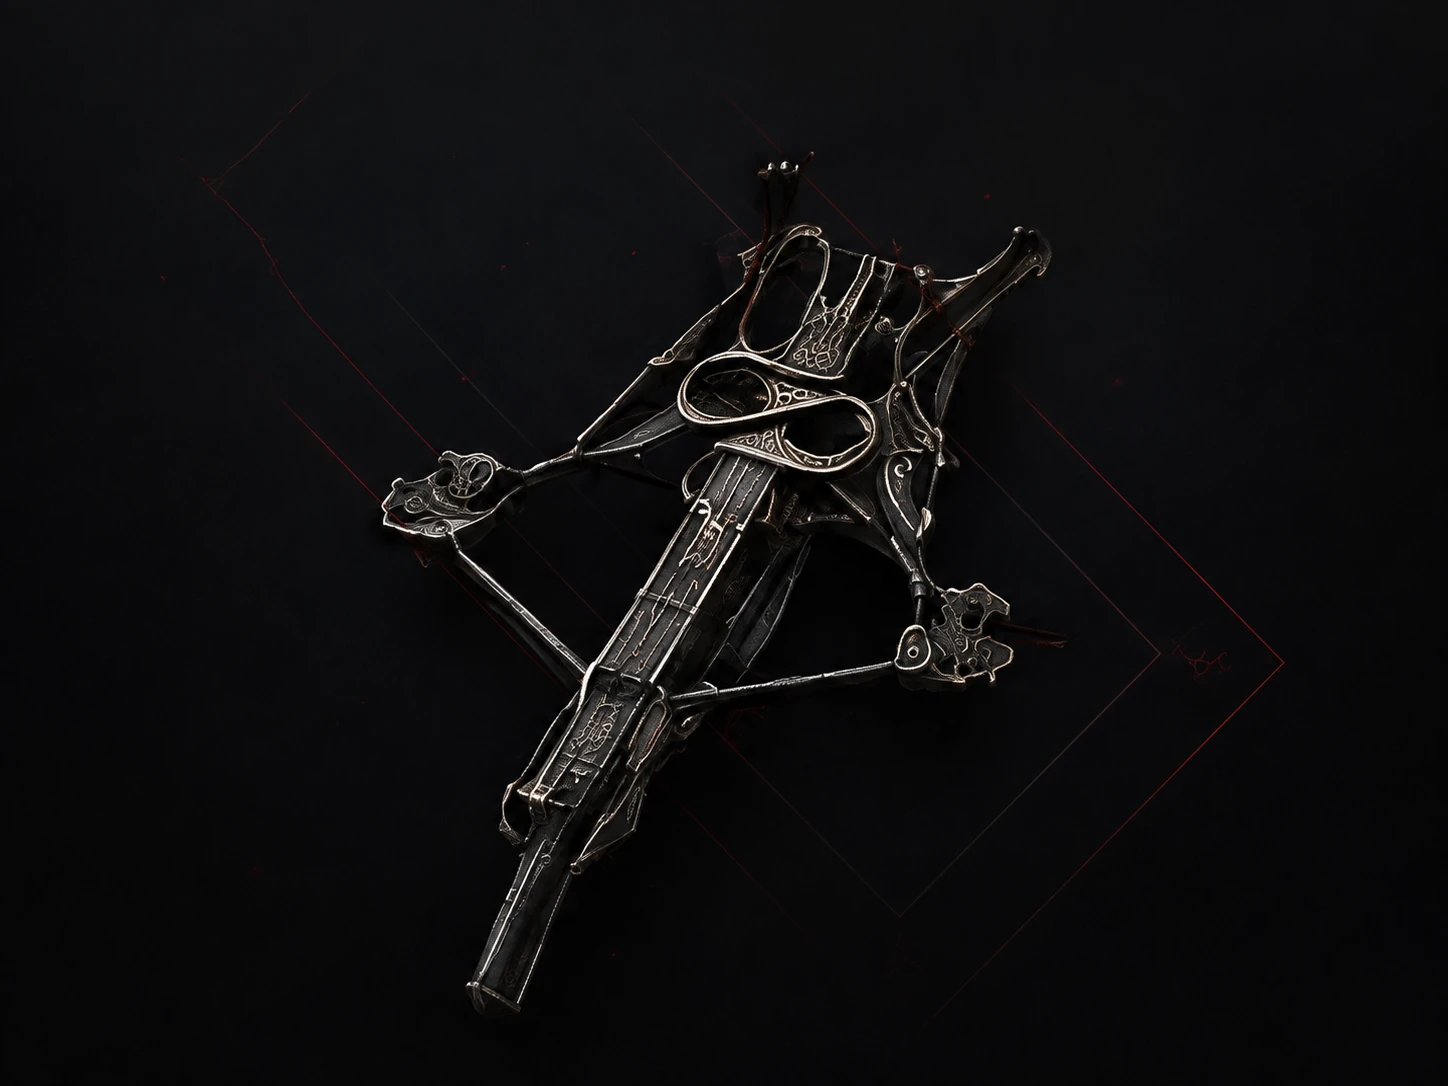
Forgotten Crossbow

Forgotten Crossbow provides dependable long-range bolts for pulling enemies, hitting environmental targets, and finishing threats outside melee range.

Found
Fainweald — Flooded Village
Tarstones
Barrage Stone · Myriad Stone
How to get it
In Flooded Village, obtain the Damp Key after the second elevator, unlock the central building, and take Forgotten Crossbow from the table inside.
Full entry
Naylshotte sidearm in Mortal Shell II
SidearmA tier

Naylshotte

Naylshotte is an excellent starting sidearm whose quick close-range blast turns nearby openings into immediate burst damage.

Found
Prologue
Tarstones
Confessor’s Keepsake · Emberseed Stone
How to get it
Naylshotte is granted automatically during the Prologue as part of the mandatory opening progression, so it cannot be missed.
Full entry
Salvaged Trebuchaxe sidearm in Mortal Shell II
SidearmA tier

Salvaged Trebuchaxe

Salvaged Trebuchaxe launches a high-impact axe projectile that excels at deliberate single-target punishment from a safer distance.

Found
Fainweald — Ravaged Hideout
Tarstones
Charged Stone · Squall Stone
How to get it
Find Ravaged Hideout south of Gloomshade Grove, defeat the Bloodcursed Lithopod to open the route, and loot the body in the final room.
Full entry
Ballistazooka sidearm in Mortal Shell II
SidearmB tier

Ballistazooka

Ballistazooka brings explosive ranged power and heavy impact, but its slow firing rhythm makes quick enemies difficult to track and punish.

Found
Mammon — Sentry’s Grave / Lonesome Spire
Tarstones
Marksman’s Stone · Rupturing Stone
How to get it
Enter Sentry’s Grave within Lonesome Spire from the Gate of Mammon route and defeat the Subjugated Guardian to obtain Ballistazooka.
Full entry
Triarch Repeater sidearm in Mortal Shell II
SidearmB tier

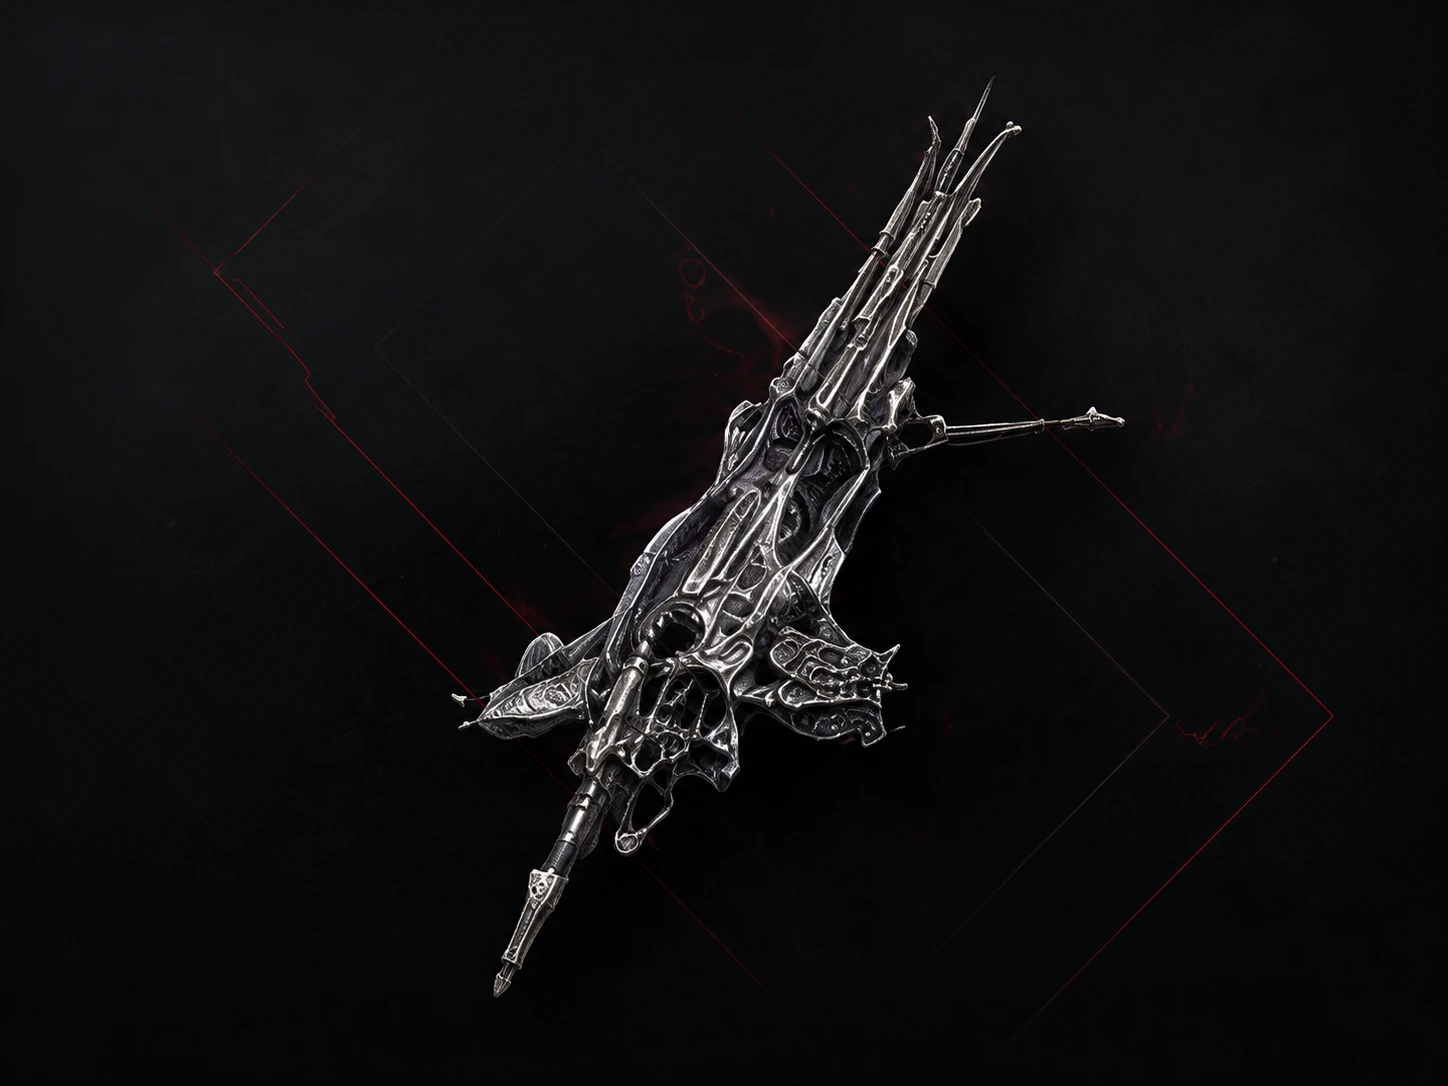
Triarch Repeater

Triarch Repeater supplies sustained alien projectile fire, rewarding planned pressure but exposing the player during its lengthy charge sequence.

Found
Mammon — Blackwell Cavern
Tarstones
Marksman’s Stone · Rupturing Stone
How to get it
Reach Blackwell Cavern from Castigator’s Keep and search the first illuminated area. Triarch Repeater lies on the ground there.
Full entry
Cursed Child sidearm in Mortal Shell II
SidearmC tier

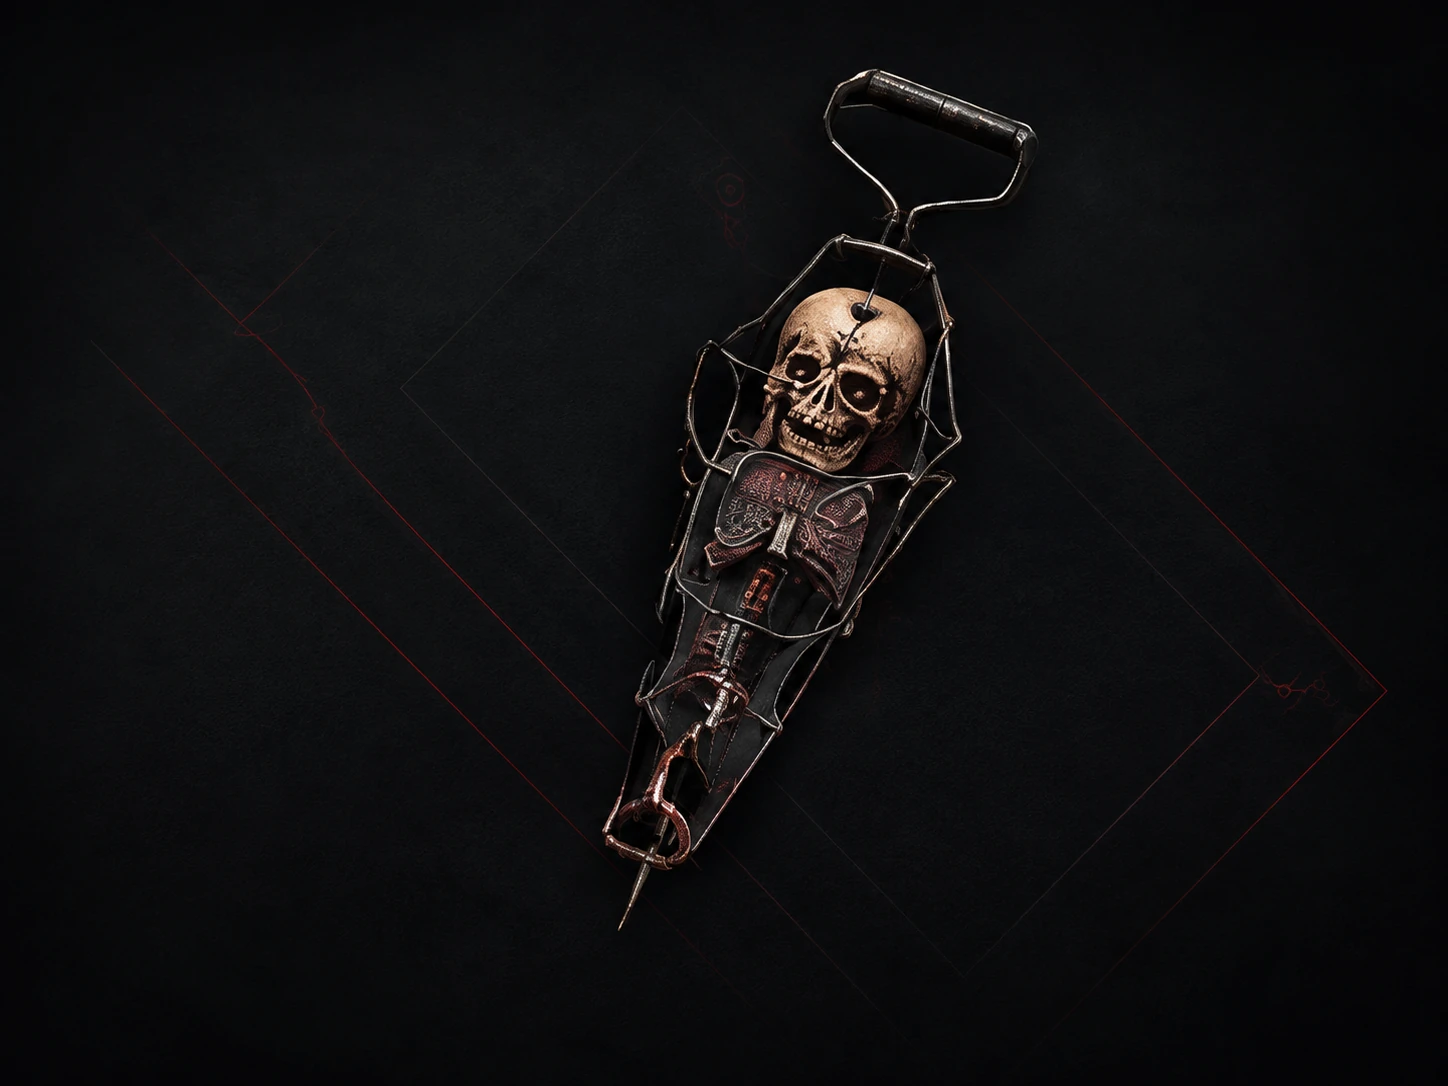
Cursed Child

Cursed Child is a niche short-range sidearm whose knockback can create breathing room, but limited reach and inconsistent value keep it below broader options.

Found
Mammon — Sester’s Abbey / Revered Beacon
Tarstones
Charged Stone · Enfeebling Stone
How to get it
Approach Revered Beacon from Sester’s Gate, work around the golden-light hazards, and break the central pillar at the top to reveal Cursed Child.
Full entry

Route planner

Weapon acquisition checklist

Locations are summarized for planning; open any weapon entry for the complete sourced acquisition note.

WeaponClassRegionHow to get it
The IconoclastPrimary weaponPrologueFollow the mandatory Prologue path and interact with the weapon-bearing figure at the end. The Iconoclast is obtained before the world opens up.
Axe and DaggerPrimary weaponFainweald — Shrine of TrialsReach the Shrine of Trials through the Mushroom Village route, using the Chapel Key where required, and claim Axe and Dagger at the dungeon’s end.
Great Martyr’s BladePrimary weaponFainweald — Citadel of Penance / Martyr’s PrisonInside Martyr’s Prison, press the button in the cell to open the gate, clear the adjoining room, break the obstructing boxes, and take the blade from the table.
Veteran’s Battle AxePrimary weaponFainweald — Blackridge Pass / King’s CryptExplore King’s Crypt, drop through the hole on the route, and search the body at the back of the room to collect Veteran’s Battle Axe.
Clockwork ScythePrimary weaponMammon — Silent Steps / Chamber of BecomingFollow the Silent Steps route into the Chamber of Becoming and defeat Sariel, the Endless. The Clockwork Scythe is awarded with the encounter’s other rewards.
AxatanaPrimary weaponMammon — Forgotten Tower / Sester’s AbbeyIn the Forgotten Tower near Sester’s Abbey, use the eastern pressure plate to open the gate, defeat the Dagger Sester, and collect Axatana from the nearby cubby.
Black NeedlePrimary weaponMammon — Sester’s GateProgress through Sester’s Gate, defeat the Twin Sesters, then defeat the Stray Sester. Black Needle is obtained after completing that encounter sequence.
Obsidian HammerPrimary weaponMammon — Obsidianite MinesReach the Obsidianite Mines and defeat the Prophet of Profane Infinities. Obsidian Hammer is the named weapon reward tied to that encounter.
Caged HystrixSidearmMammon — Chamber of BecomingIn the Chamber of Becoming, destroy the four lightning rods during the Sariel encounter, defeat him, then collect Caged Hystrix near the arena exit.
Troubadour’s LuteSidearmFainweald — One-Legged Wolf TavernTravel to the One-Legged Wolf Tavern in eastern Fainweald and inspect the stage. Troubadour’s Lute rests to the left of the performer.
Forgotten CrossbowSidearmFainweald — Flooded VillageIn Flooded Village, obtain the Damp Key after the second elevator, unlock the central building, and take Forgotten Crossbow from the table inside.
NaylshotteSidearmPrologueNaylshotte is granted automatically during the Prologue as part of the mandatory opening progression, so it cannot be missed.
Salvaged TrebuchaxeSidearmFainweald — Ravaged HideoutFind Ravaged Hideout south of Gloomshade Grove, defeat the Bloodcursed Lithopod to open the route, and loot the body in the final room.
BallistazookaSidearmMammon — Sentry’s Grave / Lonesome SpireEnter Sentry’s Grave within Lonesome Spire from the Gate of Mammon route and defeat the Subjugated Guardian to obtain Ballistazooka.
Triarch RepeaterSidearmMammon — Blackwell CavernReach Blackwell Cavern from Castigator’s Keep and search the first illuminated area. Triarch Repeater lies on the ground there.
Cursed ChildSidearmMammon — Sester’s Abbey / Revered BeaconApproach Revered Beacon from Sester’s Gate, work around the golden-light hazards, and break the central pillar at the top to reveal Cursed Child.

Build planning

How Tarstones work

Tarstones modify a weapon’s behavior and are build choices, not a universal ranking. The pair shown on each card is a practical recommendation for that weapon’s role; choose around your Shell, preferred attacks, and the encounter.

Depending on the stone, a build can add an elemental status, replace a combo finisher, create a shockwave, alter a projectile pattern, improve Break, or speed up a charged shot. Examples include Serpent Stone’s Poison infusion, Zealot’s Stone’s light finisher, Splitting Stone’s extra Hystrix projectiles, and Charged Stone’s faster charge.

Common questions

Frequently asked questions

What is the best primary weapon?

Axatana ranks first overall because its axe and dual-katana forms cover both heavy punishment and fast pressure.

What is the best early-game weapon?

Axe and Dagger is the strongest early recommendation for fast pressure and mobility; The Iconoclast remains a dependable mandatory starter.

What is the best heavy weapon?

Veteran’s Battle Axe ranks highest among the heavy choices thanks to its impact, chained pressure, and jumping heavy attack.

What is the best sidearm?

Caged Hystrix is the most broadly useful sidearm for sustained pressure, chip damage, stagger, and crowd management.

Can weapons use Tarstones?

Yes. Tarstones customize weapon behavior, and every entry in this hub lists two recommendations drawn from the supplied ranking research.

Where do you get Axatana?

Find it in the Forgotten Tower near Sester’s Abbey by using the eastern pressure plate, opening the gate, defeating the Dagger Sester, and checking the nearby cubby.

Where do you get Axe and Dagger?

Complete the Shrine of Trials route reached through Mushroom Village, using the Chapel Key where required, then claim the weapon at the dungeon’s end.

Are lower-tier weapons unusable?

No. The tiers compare overall flexibility and consistency. A lower-tier weapon can still excel when its pace matches your Shell and the encounter.

How many weapons are listed here?

The database covers eight primary weapons and eight sidearms, for sixteen total entries.